However, Unity3D uses Mono Develop as default IDE whereas XNA developers are accustomed to using Visual Studio. Fortunately, there is a plugin for Unity that integrates with Visual Studio directly: UnityVS.
Let's check it out!
Licence
Navigate to UnityVS. Click Try UnityVS button to get the 14x day trial licence.
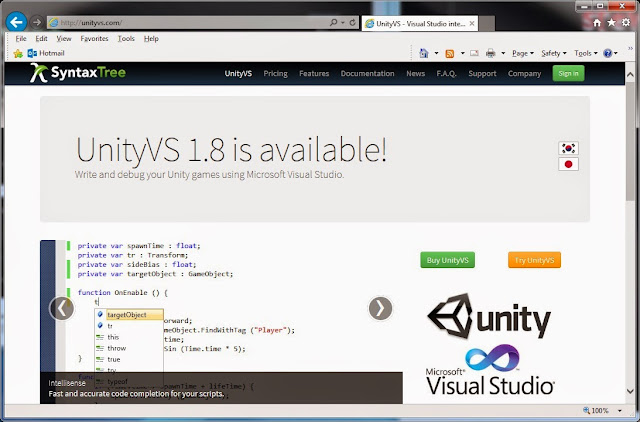
Enter your first name, last name email address and Submit.
Afterwards, you will receive 2x auto-generated emails:
|
Navigate to UnityVS. Sign in using the credentials from the second email.
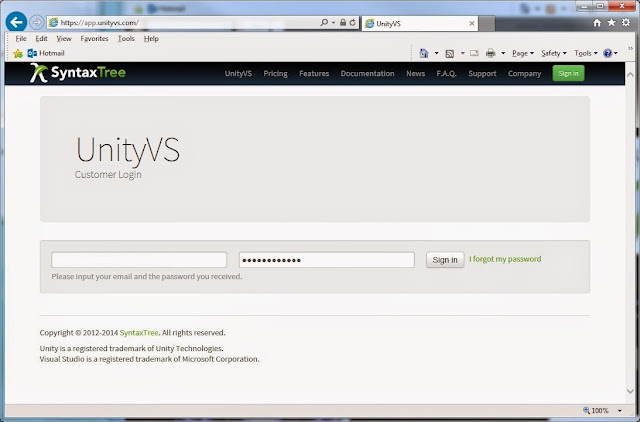
Choose the version of UnityVS you want to download, e.g.: UnityVS 2012.
Double click the downloaded MSI package as per the installation notes.
Configuration
Create simple project for Unity and Visual Studio configuration using UnityVS plugin:
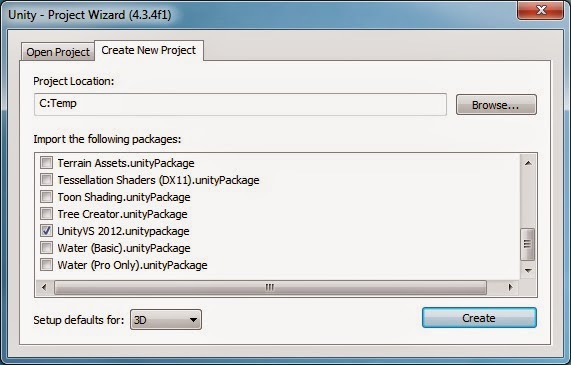
Launch Unity3D. Create New Project. Check UnityVS 2012.unitypackage option.
Alternatively, Open Project. Choose Assets menu, Import Package, UnityVS 2012.
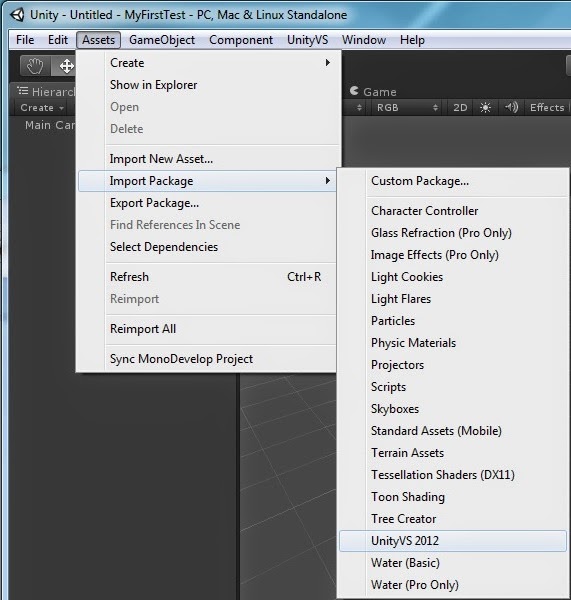
There should now be the new UnityVS menu available in Unity.
Note: if there isn't then close Unity and re-open accordingly.
Next, open UnityVS from Unity: choose UnityVS menu, Open in UnityVS.
You will be prompted to enter the licence from the first email received.
Debugging
Create simple C# script for Unity and Visual Studio debugging using UnityVS plugin.
Launch Unity3D. Create cube game object and C# script. Drag script file onto cube.
Double click the C# script from Unity to open the file in Visual Studio accordingly.
Check out icon bottom right in Visual Studio: this now connects UnityVS instances.
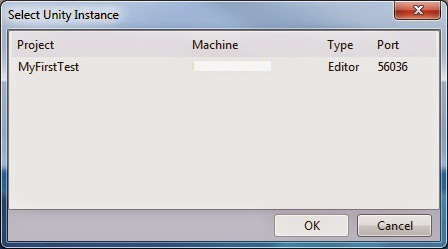
Debug the script: insert break point in the Update() method. Press F5 to launch.
Click (only) Unity instance. In Unity, press play and code now breaks to debug.
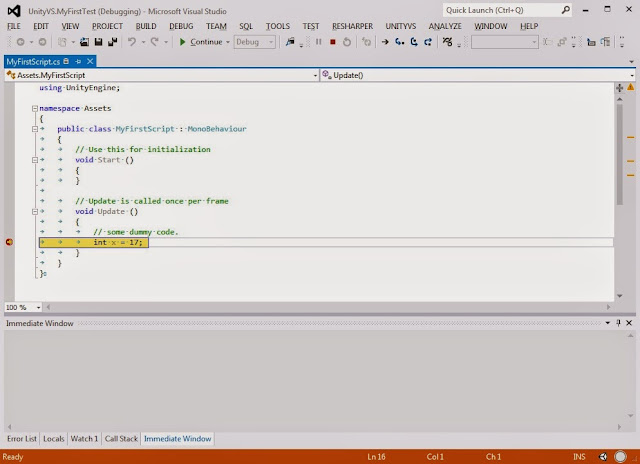
Player Debugging
Extend simple C# script for Unity and Visual Studio player debugging using UnityVS plugin.
Player debugging seems to be more flexible, there are 3x scenarios on how it can be used:
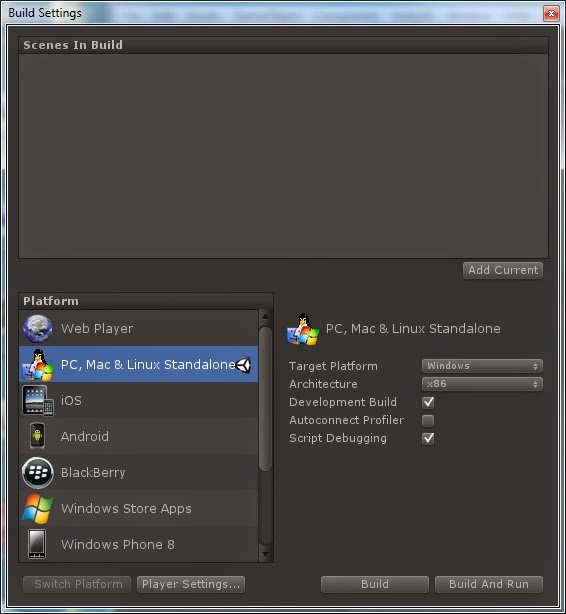
In Unity, choose File menu, Build Settings, PC, Mac & Linux platform.
Check both Development Build and Script Debugging check boxes.
Scenario #1
In Visual Studio, insert break point. Choose Debug menu, Attach Unity Debugger.
In Unity, click Build and Run button and choose file to save (replace if necessary)
In Visual Studio, select the (new) Unity Instance: WindowsPlayer.
Click the Windows Player Play! button. Code now breaks to debug.

Note: if this doesn't break then click Play! button before Unity Instance: WindowsPlayer.
Scenario #2
In Visual Studio, insert break point. Choose Debug menu, Attach Unity Debugger.
Back in Unity, choose File menu, Build & Run. Then the Windows Player launches.
In Visual Studio, select the (new) Unity Instance: WindowsPlayer.
Click the Windows Player Play! button. Code now breaks to debug.

Note: this method always seems to work whereas Scenario #1 seems more volatile.
Scenario #3
In Visual Studio, insert break point. Choose Debug menu, Attach Unity Debugger.
In Windows Explorer, navigate to the saved executable file. Double click the EXE.
In Visual Studio, select the (new) Unity Instance: WindowsPlayer.
Click the Windows Player Play! button. Code now breaks to debug.

Note: this method always seems to work whereas Scenario #1 seems more volatile.
Important: with Player Debugging, it is not necessary to Press F5 in Visual Studio.
Also, with these scenarios it's not possible to Attach to Process from Visual Studio.
Scripting
Finally, many developers who use Visual Studio also integrate ReSharper for keyboard shortcuts.
UnityVS provides similar built-in keyboard shortcuts, especially for Script wizards and navigation.
Summary
UnityVS is a useful plugin that enables debugging of Unity C# script, code navigation and IntelliSense, all within Visual Studio. As Unity3D gains popularity, this affordable plugin may also gain equal popularity!


1 comment:
Thanks for this good info > unity3diy
have a look at my unity related blog!
Post a Comment