Now that we are setup, we would like to analyze existing Indie game projects for the Sega Master System and disassemble some classic 8-bit commercial games to better understand the Z80 development process.
Let's check it out!
Software
Follow all instructions from the previous post: this documents how to setup all the pre-requisite software. Note: ensure you have downloaded and installed WLA-DX assembler + Visual Studio Code cross platform.
Homebrew Games
In the previous post, we setup the obligatory "Hello World" program. Now we would like to analyze some larger Z80 projects. Checkout "Racing Game" article on SMS Power! which is an in depth coding tutorial.
Car Racer (classic)
Create C:\CarRacerClassic or ~/CarRacerClassic. Copy .vscode folder from previous post with launch.json + tasks.json. Copy build.bat + build.sh. Don't forget to grant execute permission chmod +x build.sh command.
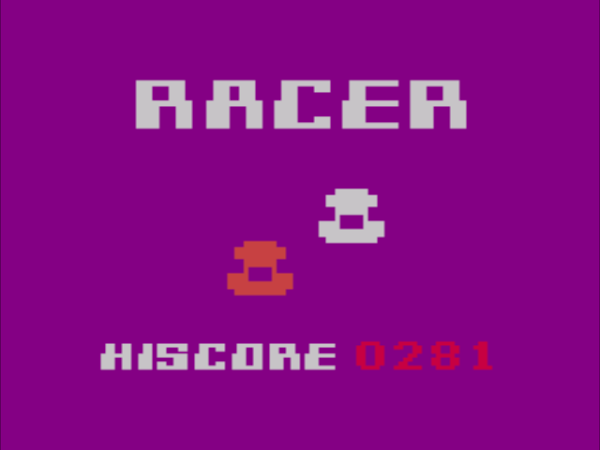
Download source code. Copy Assets folder to CarRacerClassic. Copy main.asm file from Racer (classic) folder Version 1.12 here also. Launch VS Code. Some things to remember when coding Z80 source cross platform:
- Ensure forward slash "/" used at all times for cross platform development
- Ensure case sensitive folders + files are used at all times for include files
- Ensure carriage returns is used between variables to avoid wla-dx errors
Press Ctrl + Shift + B to execute build script => compile, link and run output.sms launched from Emulicious! Assumption Emulicious installed C:\SEGA\Emulicious on Windows or ~/SEGA/Emulicious Mac OS/X + Linux.
Debugging
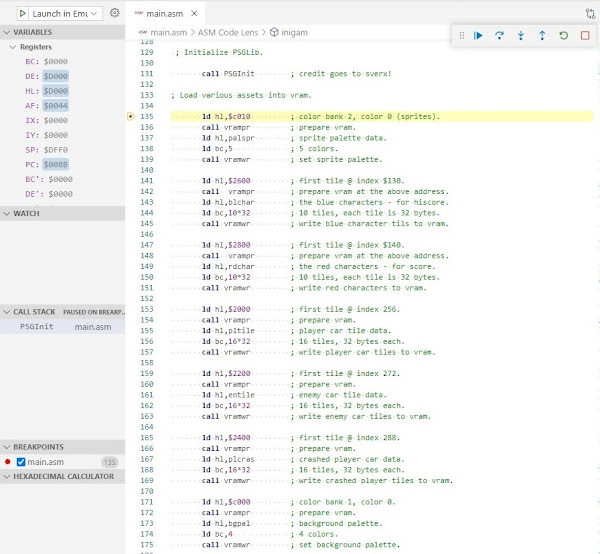
Launch Emulicious externally. Ensure Emulicious Debugger is installed with VS Code as per previous post. Open main.asm and set breakpoints. Press F5. Emulicious debugger should now break into Z80 assembly source code! Step through + investigate register variables, stackframes, access watch window, call stack:
Car Racer (rebooted)
Create C:\CarRacerRebooted or ~/CarRacerRebooted. Copy .vscode folder from above with launch.json and tasks.json. Copy build.bat + build.sh. Don't forget to grant execute permission chmod +x build.sh command.
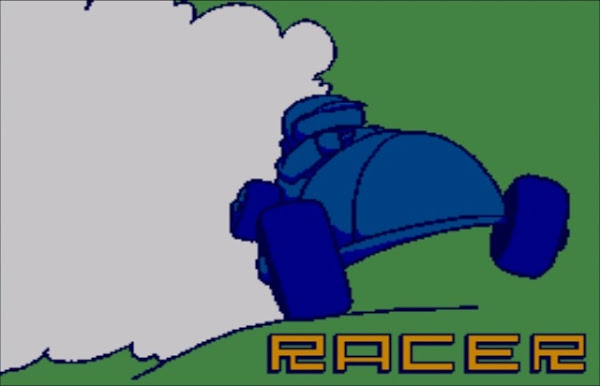
Download source code. Copy all assets folders with *.inc files to CarRacerRebooted. Copy main.asm file from Racer (rebooted) folder here also. Launch VS Code. Tweak Z80 assembly code as above to be cross platform.
Press Ctrl + Shift + B to execute build script => compile, link and run! Repeat process for all these projects:
|
|
For all examples: Launch Emulicious separately first. In VS Code press F5 to debug step through Z80 code!
Commercial Games
Now let us enhance this process to disassemble some commercial games built for the Sega Master System. This way, we may gain insight into the early development process plus be able to hack original source code!
Transbot
Create C:\Transbot or ~/Transbot folder. Copy .vscode folder from above with launch.json and tasks.json files. Copy build.bat + build.sh too. Don't forget to grant execute permission chmod +x build.sh command.
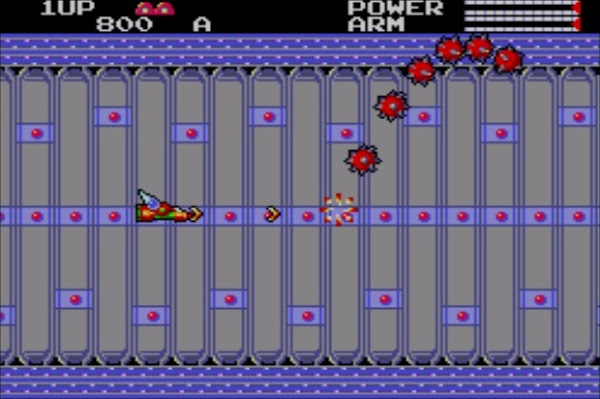
Download Transbot ROM. Launch Emulicious | Open ROM. Tools menu | Debugger | press Ctrl + A to select all disassembled code. Save as Transbot.asm. Update all ".incbin ..." statements using the following utility:
Utility
Download Binary-File-Write utility. Copy both TransBot.asm and TransBot.sms files to input folder. Update the config file | set key="fileName" value to "Transbot". Run BinaryFileWrite.exe. Copy output to Transbot folder.
Launch VS Code. Open Transbot folder. All prior ".incbin..." statements should now refer to binary data files. Press Ctrl + Shift + B to execute build script => compile, link and run! Repeat process for all these projects:
|
|
For all examples: Launch Emulicious separately first. In VS Code press F5 to debug step through Z80 code!
Flicky
Create C:\Flicky or ~/Flicky folder. Repeat entire process for Transbot as above but with Flicky.sg ROM. Copy the .vscode folder with launch.json and tasks.json files plus build.bat + build.sh. Retreive main.asm + data folder from utility. Press Ctrl + Shift + B to execute build script + press F5 to debug step through Z80 code!
Hack
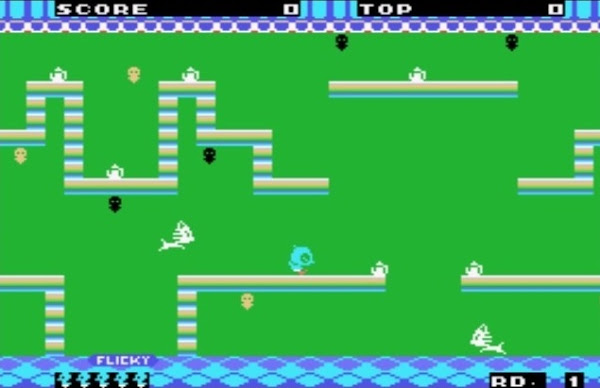
Use this new setup to hack the original source code! For example, in Flicky you always start at level #1. Wouudn't it be cool to start at any level? Also, wouldn't it be cool to have infinite lives? Let's check it out!
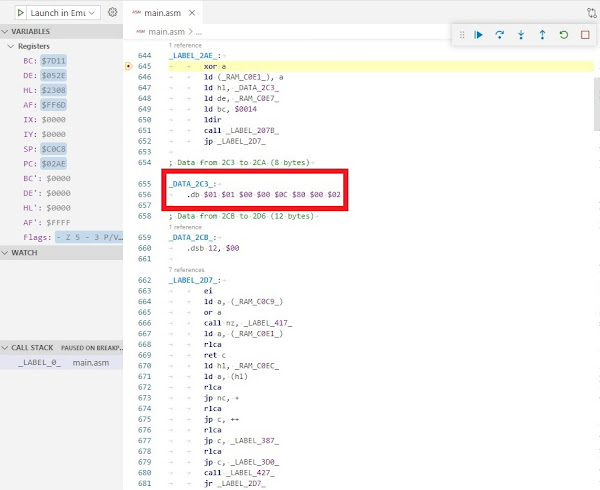
Start level and lives count default values are hardcoded in ROM and loaded into RAM. After debug stepping through Flicky source code we find a piece of code that loads 20x bytes of ROM into RAM on game start:
Bytes $02C3 and $02C4 default to $01; could either of these be start level #1? Byte $02CA defaults to $02; could this be lives left? The corresponding data is loaded in RAM at $C0E7, $C0E8 and $C0EE respectively.
Launch Emulicious. Tools menu | Memory Editor | RAM. Right click $C0E7 | Toggle Watchpoint. Repeat for $C0E8 and $C0EE. Resume code. Play game and die! The value at RAM $C0EE decreases from $02 to $01.
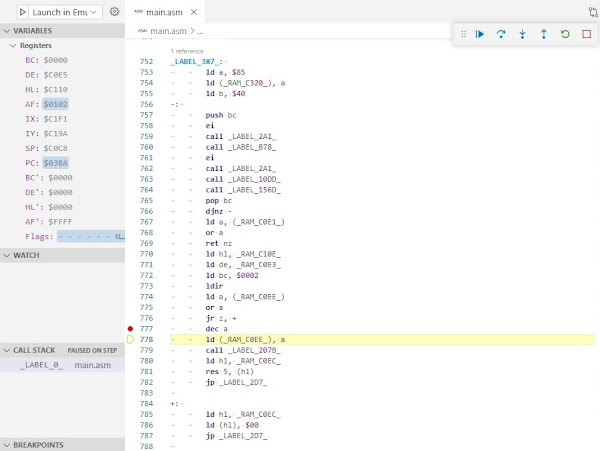
Therefore, RAM $C0EE stores the lives count loaded from ROM $02CA! Replace the original $02 with $FF for "infinite" lives. Repeat process: complete level; see RAM $C0E8 stores start level loaded from ROM $02C4!
Summary
Now that we have a productive Z80 assembler development environment and analyzed some larger projects to better understand the development process we are in a great spot to build our own projects from scratch.
For completeness, we would still like to better understand relationship between Sega Master System source code written in C using the devkitSMS and connect the underlying Z80 assembly code generated accordingly. This will be the topic of the next post.

